
TL;DR:
- Personalizing loungewear transforms everyday items into meaningful and mood-boosting pieces.
- Choosing the right fabric and placement is crucial for durable, professional-looking results.
- Stitching patches and careful design planning enhance longevity and emotional connection to your loungewear.
Most loungewear sits in a drawer feeling forgettable. It does the job, but it never feels like yours. The good news is that personalizing your favorite pieces is easier than you might think, and the results can completely change how you feel during your downtime. Whether you want your initials stitched onto a robe or a bold floral patch on a cozy set, customization turns everyday comfort wear into something worth looking forward to. This guide covers everything: picking the right fabrics, gathering your tools, applying designs step by step, and fixing the most common mistakes along the way.
Table of Contents
- Choosing the right loungewear for personalization
- Gathering your tools and personal design inspirations
- Step-by-step guide: Personalizing with iron-on patches and embroidery
- Common pitfalls and expert fixes in loungewear personalization
- A fresh perspective on loungewear personalization
- Bring your personalized loungewear vision to life
- Frequently asked questions
Key Takeaways
| Point | Details |
|---|---|
| Choose the right fabric | Natural and non-stretchy materials like cotton ensure easier and longer-lasting personalization. |
| Prep is key | Gathering the right tools and sketching your design in advance saves time and avoids mistakes. |
| Use durable techniques | Stitching patch edges after ironing or sewing directly onto loungewear makes your style last. |
| Avoid quick fixes on stretch fabrics | For high-stretch garments, sewing provides more reliable results than iron-on patches. |
| Personal touches enhance comfort | Adding initials, motifs, or colors transforms relaxation wear into something uniquely yours. |
Choosing the right loungewear for personalization
Once you see the value of personalizing your loungewear, the first step is selecting the proper pieces to customize. Not all fabrics respond the same way to heat, thread, or adhesive, and choosing the wrong base can lead to peeling patches or puckered fabric.
Iron-on patches work best on non-stretchy fabrics like cotton, twill, and felt. These materials hold heat evenly and allow the adhesive to bond properly. Natural fibers like cotton and linen are especially forgiving because they can handle the high temperatures required for iron-on application without warping or scorching.
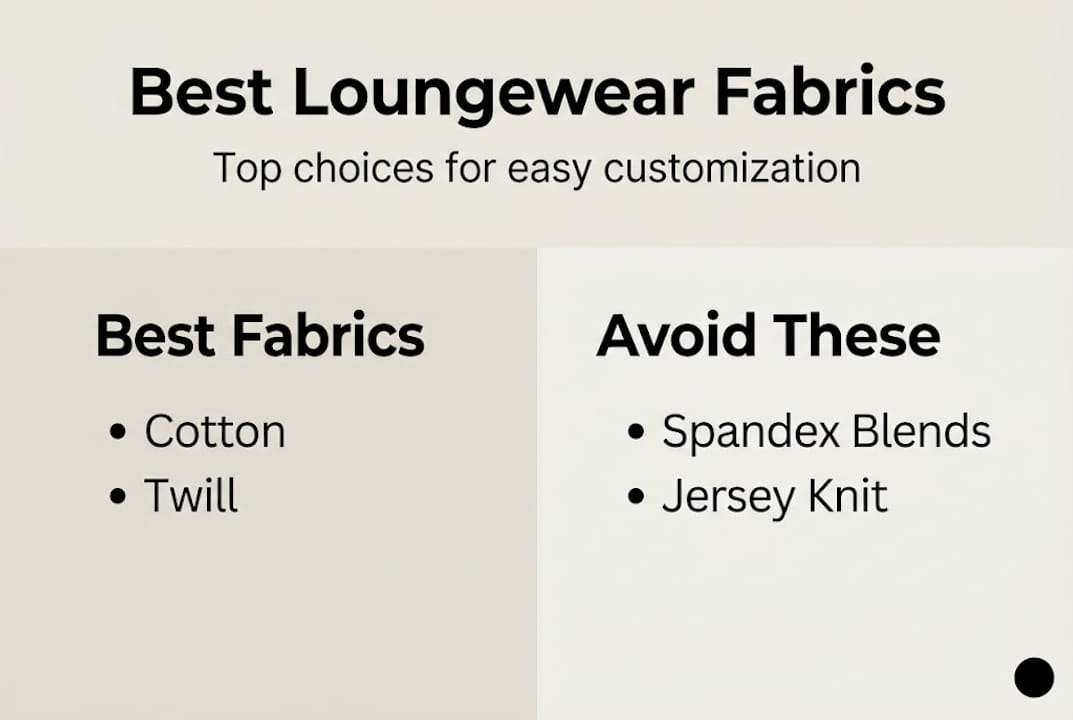
Stretchy fabrics, like spandex blends or jersey knits, are a different story. The elasticity prevents the adhesive from bonding cleanly, and the patch may pop off after just a few washes. If you love your stretchy lounge pants, sewing is a much better option than iron-on for those pieces. Check out tips on choosing comfortable fabrics to understand how different materials feel and perform over time.
Fit and placement also matter more than most people realize. A design placed too close to a seam can pucker. One placed on a curved surface, like a sleeve, may not adhere evenly. Flat, straight panels on the front or back of a garment are your best bet for clean results.
Here is a quick comparison of the most common loungewear fabrics and how they handle personalization:
| Fabric | Best method | Heat tolerance | Stretch level |
|---|---|---|---|
| Cotton | Iron-on, embroidery | High | Low |
| Linen | Iron-on, embroidery | High | Low |
| Twill | Iron-on | High | Very low |
| Fleece | Sewing only | Medium | Medium |
| Spandex blend | Sewing only | Low | Very high |
| Waffle knit | Embroidery, sewing | Medium | Medium |
Before you commit to a design, consider these placement tips:
- Chest area: Ideal for monograms and small motifs
- Back panel: Great for larger patches or quotes
- Sleeve cuff: Works for simple embroidery on flat cuffs
- Hem or pocket: Perfect for subtle, minimalist details
For even more inspiration on what to put where, browse personalized robe ideas that show real design placements on actual garments.
Pro Tip: Always iron your garment flat and smooth before applying any patch or design. Wrinkles in the fabric will transfer into your finished result, and no amount of pressing afterward will fully fix them.
Gathering your tools and personal design inspirations
With the ideal garment chosen, the next step is preparing your tools and imagining your custom look. Walking into a project without the right supplies is the fastest way to end up frustrated halfway through.
For iron-on patches specifically, you will need twill or felt base fabric, embroidery thread, fusible adhesive, and a hot iron. If you are doing hand embroidery directly on the garment, swap the fusible adhesive for an embroidery hoop and water-soluble transfer paper.
Here is a full reference table to keep handy:
| Tool or material | Used for | Notes | |—|—|—|—| | Hot iron | Iron-on patches | Use cotton setting for most fabrics | | Fusible adhesive | Patch bonding | Cut slightly smaller than patch | | Embroidery hoop | Direct embroidery | Keeps fabric taut | | Transfer paper | Design tracing | Water-soluble is easiest to remove | | Fabric scissors | Cutting patches | Sharp blades only | | Pressing cloth | Fabric protection | Thin cotton works well | | Needle and thread | Edge stitching | Match thread to patch color |
Design inspiration is the fun part. Think about what feels personal to you. Your initials in a bold serif font make an elegant statement on a robe collar. A favorite quote in small script along a hem adds a quiet, private touch. Nature motifs like botanicals, moons, or simple florals are among the most popular choices right now, and they work beautifully on neutral-toned loungewear. Color blocking, where you use patches in contrasting shades to create geometric shapes, is another modern approach worth trying. Staying current with loungewear personalization trends can spark ideas you would not have considered otherwise.
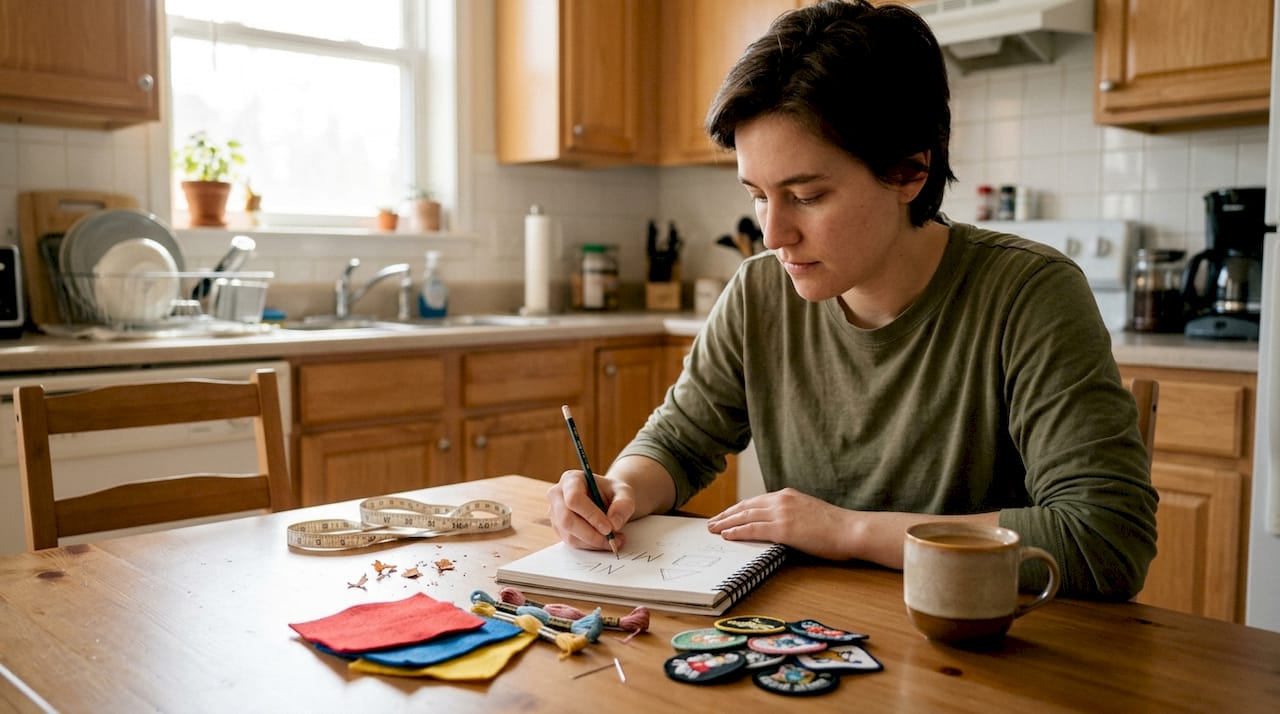
Before you touch the garment, sketch your design on paper or use a free digital tool like Canva to mock it up. This step saves time and prevents costly mistakes. Measure the placement area on your garment and draw it to scale on your sketch so you know exactly how the finished design will look.
A few design principles worth keeping in mind:
- Contrast matters: Light patches on dark fabric, or vice versa, always read clearly
- Scale to the garment: Oversized patches on a small piece look cluttered
- Limit your palette: Two or three colors in a design feel intentional, not chaotic
- Consider the wash: Darker threads and dyes tend to hold color better over time
Understanding loungewear branding essentials can also help you think about cohesion, especially if you are personalizing multiple pieces to create a matching set.
Step-by-step guide: Personalizing with iron-on patches and embroidery
With your loungewear and tools ready, it is time to apply your custom design step by step. Rushing this part is where most DIY projects go wrong, so take your time with each stage.
Iron-on patches can be made from twill or felt, attached with fusible adhesive, and applied with a household iron. Here is how to do it cleanly:
- Pre-wash your garment. Fresh fabric can have sizing or residue that prevents adhesion. Wash and dry it first.
- Iron the garment flat. Lay it on a hard, heat-safe surface. A wooden cutting board works better than a soft ironing board for firm pressure.
- Position your patch. Use pins or fabric tape to hold it exactly where you want it. Step back and look before committing.
- Place a pressing cloth over the patch. This protects both the patch and the garment from direct heat.
- Apply firm, even pressure with the iron. Hold for 15 to 30 seconds without moving the iron. Lift, do not slide.
- Let it cool completely. Peel back a corner to check adhesion. If it lifts, repeat the pressing step.
- Edge stitch the patch. Use a needle and thread to sew around the perimeter of the patch with a simple running stitch or blanket stitch.
For direct embroidery, secure the fabric in a hoop, transfer your design using water-soluble paper, and use a basic satin stitch or backstitch to fill in your design. Work slowly and keep your tension consistent.
Stitching the edges increases durability on jackets and jeans.
This matters just as much for loungewear. Iron-on techniques work best on flat fabrics, and stitching edges adds lasting durability, especially after repeated washing. Explore personalized robe options if you want to see how professional-grade results look on premium fabric.
Pro Tip: Match your edge-stitch thread to the outer border of the patch, not the garment. This makes the stitching look intentional and polished rather than like a repair.
For more creative placement ideas, the DIY robe personalization guide offers visual examples that translate well to any loungewear piece.
Common pitfalls and expert fixes in loungewear personalization
After applying your chosen technique, it is important to check for common mistakes and refine your process with expert guidance. Even experienced crafters run into these issues.
The most common problems and how to fix them:
- Adhesive not bonding fully: The iron temperature was too low or the press time too short. Re-press with a slightly higher heat setting and hold for a full 30 seconds.
- Fabric puckering around the patch: The garment had stretch or was not fully flat during application. Use a firm backing board and smooth out every wrinkle before pressing.
- Misaligned design: Skipping the pinning step almost always causes this. Always pin and double-check placement before any heat is applied.
- Patch peeling after washing: The adhesive was not sealed with edge stitching. Stitch the patch edges after ironing for long-term wear, especially on garments you launder frequently.
- Thread bunching during embroidery: Your needle may be too large for the fabric weight, or your tension is uneven. Use a smaller needle and practice consistent pull pressure.
The choice between iron-on and sewing is not just about preference. Iron-on is quicker, but sewing offers more control and longevity, particularly on high-stretch materials. If your loungewear gets heavy use or frequent washing, sewing is the smarter long-term investment.
Almost all of these problems trace back to two root causes: wrong fabric choice and skipped prep steps. Proper preparation eliminates the vast majority of DIY personalization issues before they start. Learn more about loungewear comfort features to understand how fabric quality affects both wear and customization outcomes.
Once your design is applied, try the garment on. Check that the patch does not pull the fabric, that the design sits where you intended, and that nothing feels stiff or uncomfortable against your skin. Understanding the monogrammed robe benefits can also help you decide whether a professional finish might be worth it for certain pieces.
A fresh perspective on loungewear personalization
Most guides stop at the technique, and that is where they miss the point entirely. The real reason to personalize your loungewear is not about craft projects. It is about how you feel when you put it on.
There is something quietly powerful about wearing something that was made to reflect you. A monogram on your robe collar, a patch in your favorite color on your lounge pants, these are small signals to yourself that your downtime matters. That you matter.
Personalized loungewear changes the ritual. Getting dressed for a quiet evening at home becomes intentional rather than automatic. That shift in mindset is worth more than any technique. Most people underestimate how much their environment and clothing affect their mood during rest time. Clothing you feel connected to encourages you to actually rest, rather than just waiting to get back to work.
The guides that focus only on iron temperatures and stitch counts are missing the bigger picture. Personalization is a form of loungewear for home comfort that goes beyond aesthetics. It is about building a small, consistent ritual of self-care that starts the moment you choose what to wear.
Bring your personalized loungewear vision to life
Now that you know how to create your own, discover convenient ways to get high-quality personalized pieces without the DIY work.

At Lotus Linen, we make it easy to get that custom feel without the guesswork. Browse our full range of women’s loungewear robes in plush and waffle styles, each designed to hold up beautifully to monogramming and personalization. Use our design your own loungewear tool to add initials, choose colors, and create a piece that is entirely yours. For a complete home spa experience, pair your custom robe with our personalized bath towels in matching styles. Ready to upgrade your downtime wardrobe? Explore these essentials and make every quiet moment feel like it was designed just for you.
Frequently asked questions
What types of loungewear fabrics are easiest to personalize?
Cotton, linen, and twill are the easiest to work with because they handle heat and stitching well. Non-stretchy fabrics like these give iron-on adhesive the stable surface it needs to bond properly.
How can I make sure my patch stays on after washing?
Always stitch the edges of your patch after ironing it on. Edge stitching adds durability and keeps the patch secure through repeated laundering, especially on frequently worn pieces.
Is personalization possible on stretchy loungewear?
Yes, but iron-on methods will not hold reliably on stretch fabrics. Sewing offers far more longevity on high-stretch materials and gives you cleaner, longer-lasting results.
What designs are trending for personalized loungewear in 2026?
Bold monograms, botanical motifs, and color-blocked patches are leading the trend this year. These styles work across a wide range of fabric colors and loungewear silhouettes, making them versatile choices for any wardrobe.

